
Tissue Box slip cover to fit
Kleenex tissue box


Cardstock:
Lid / top: 1 x piece cut at 14.5cm x 13cm,
scored on all 4 sides at 1.5cm,


Lid: I used the Sweet and Sassy framelits to
cut the opening in the top for tissue hole.. you can use any shape though!!
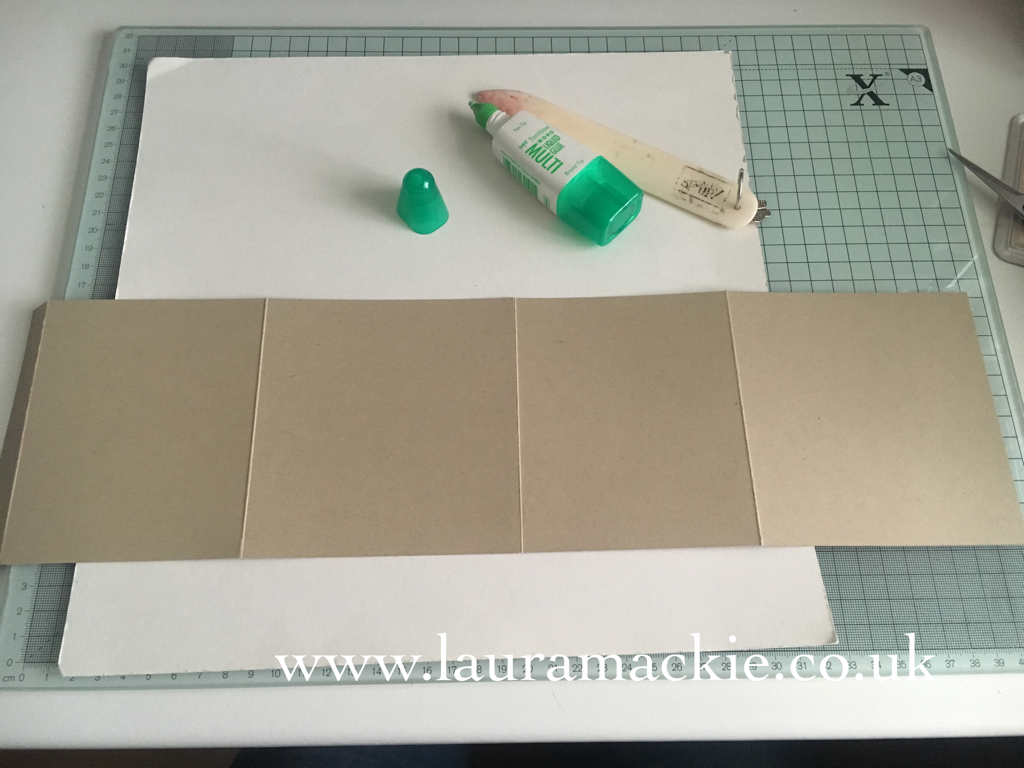
Sides: 2 Pieces of cardstock cut
@ 23cm x 12.1cm, scored at 11.5cm and 21.5cm (landscape on 23cm long edge!)

Adhere both side pieces together
using one of the 1.5cm tabs, lay flat and adhere DSP before joining last tab together
to form sides of box (there is no base of this box it slips over the tissue
box)
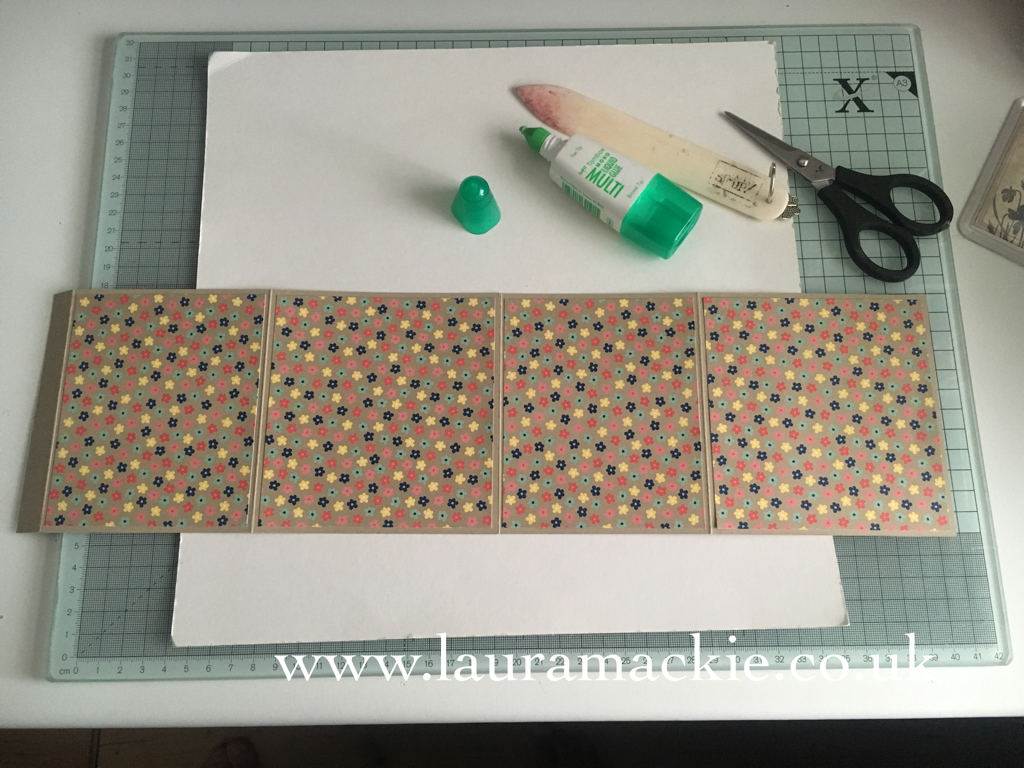
DSP to decorate:
Sides 2 @ 11 x 11.5cm and
2 @ 9.5 x 11.5cm
Top 1 @ 11cm x 9.5cm
Once you’ve added DSP to lid, you can cut your hole with your desired shape!
Form lid, I held mine in place for a few moments with pegs then adhere sides of box to lid a side at at time, then adhering the last flap to the last side.... decorate as you please!!!


I hope you enjoy making the
tissue box cover as much as I did J
All the supplies Ive used are available in my online shop, simply click on an image below to go to my online shop
 |
 |
 |
 |
 |
 |
 |
 |
 |
 |
 |


No comments:
Post a Comment