Showing posts with label Perpetual calendar tutorial. Show all posts

Saturday, 15 February 2020

Perpetual Calendar using Stampin' Up! Golden Honey DSP


I'm back again today to share the other project from my 
Sale-a-Bration event - Honey Bee Birthdays this Perpetual Calendar.


Perpetual Calendar


I created the Calendar pages myself and left off the dates for a reason
it annoys me if I have two birthdays on one day and I don't have
enough room to write them both, hence I've left off the numbers!

The Calendar is a cute size measuring 12cm x 16.5cm

The base of the calendar is made using Chipboard
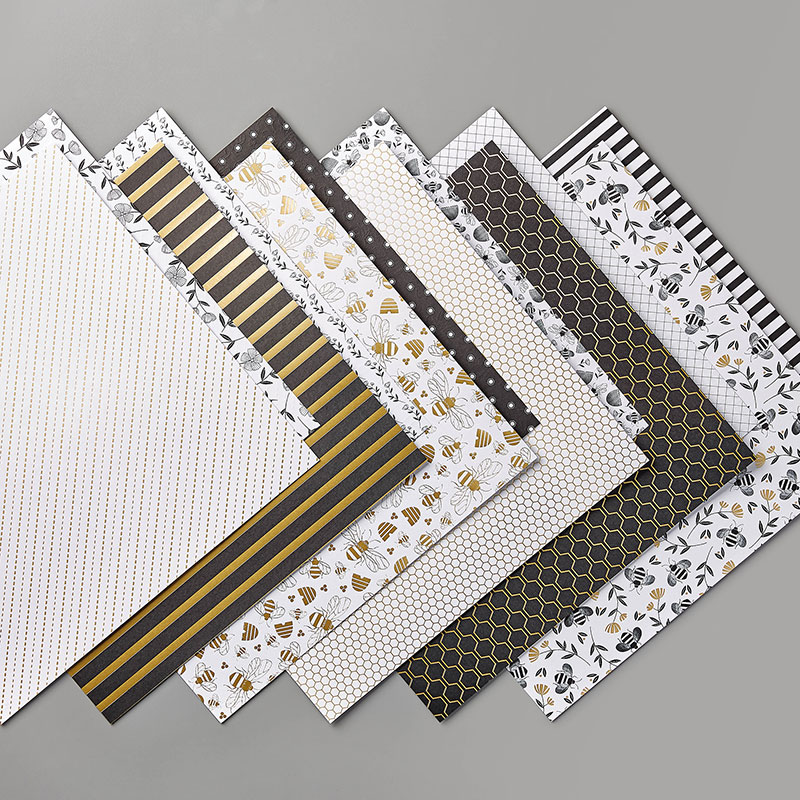
which I've then covered using the Stampin' Up Golden Honey DSP

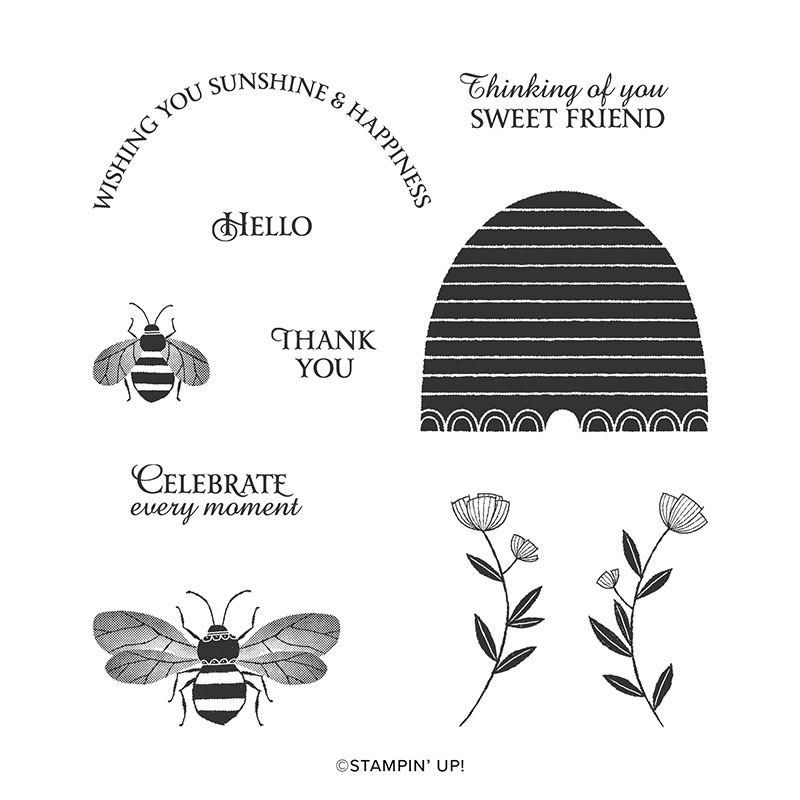
I have stamped the Calendar pages using the 
Stampin' Up Honey Bee Stamp Set, I created 3 designs 
stamping 4 months of each design


Perpetual Calendar

Perpetual Calendar

Perpetual Calendar

Download the Tutorial HERE
(this tutorial is Free for your personal use only, please do not 
re- distribute, point people to here to download their own copy)

Calendar Pages HERE

The file is created as A5, but I printed 2 calendars per page and changed
page orientation to landscape, which meaned my file printed at around A6 size
Calendar finished page size are 9.5cm x 14cm,

I recommend printing the Calendar pages on
Whisper White Cardstock listed below

you will need two scrapbook rings, around 28 / 32mm

I hope you have fun recreating the Perpetual Calendar


Heres what I've used today and all available to order right now:


If you don't already have a demonstrator or are looking for a demonstrator I would be delighted if you choose to order your Stampin' Up! products through me, you can shop with me 24/7 via my online shop, I'm committed to providing excellent customer service and I'm always happy to offer help when placing your order or if you need help with a product, 
please don't hesitate to get in touch, 01842 828643 email: lauramackie@mail.com

Don't forget when you shop online to use my Monthly Hostess code, for a FREE extra goodie from me, this will arrive after your order and come direct from me with a hand made card... This months hostess code is 4KQJ6UPT (for orders under £150)

Thank you so much for coming by today,
til next time happy craftin'


Saturday, 8 February 2014

In Love with Stamping Spring & Summer Blog hop 2014 with FREE Tutorial


Welcome to our In Love with Stampin – New Spring & Summer Catalogue and Sale-a-Bration Blog hop…

Today myself and several other Stampin’ Up! Demonstrators have put together some projects and Cards using Stampin' Up! products from the newly released Spring & Summer seasonal catalogue and the current Sale-a-Bration promotion ... so please sit back and relax and enjoy hoping from blog to blog – why not grab a Coffee or Tea, pen & paper just incase you’d like to make a note of any items you love and want to add to your crafty stash or wish list along the way…

The project im sharing with you is a Perpetual Desk calendar – using the Sweet Sorbet Designer Series Papers which are FREE with a £45 order…

image

Days of the week:

image

Months: made using the NEW Scallop tag punch

image

image

I made little dividers to hold the tags with a divider between the months and the days too..

image

image

FREE TUTORIAL:

Cubes: 2 x 16cm x 21cm score and cut as below:

image

Score at 5, 10, 15 and 20cm along long side then

5, 10, and 15cm on short side 

image

Before sticking together to create cube – decorate cube flat and adhere numbers as follows:

Numbers for Perpetual Calendar – the idea is you use the 6 as a 9

Cube 1 : 0, 1, 2, 4, 5 and 6

Cube 2: 1, 2, 3, 6, 7, and 8

to make the Tags – cut card stock at 5cm x 10cm then punch with scallop Tag punch

decorate as you wish – i printed my months and days of the week off with a word document.. then cut them to my preferred size..

Calendar holder:

Card Stock: 26.5cm x 18.5cm

score on long side at 8cm and 18.5cm

score on short side at 10.5cm

Mark 5cm on each side as below – cut away shaded area.. see below:

image

before assembling decorate with dsp, i decorated the back inside of my holder too just beacuse it shows above the tags…

The dividers

1 divider – cut card stock at 4cm x 16.5cm score at 3cm and 13.5cm

divider 2 – cut card stock at 4cm x 9xm score at 3 and 6cm

see below:

image

image

Then adhere holder to base…

Chipboard Base – 10 x 12.5cm cover in dsp then adhere to base with red double sided tape

and voila … any problems please dont hesitate to contact me on 01842 828643 or 07545 220477

Supplies used:

To order anything ive used today click on images below which will take you direct to my online shop..


Your next hop is over to the talented Margaret

Here is a full list of the hop…

1- Laura Mackie - www.laura-creativeideas.blogspot.co.uk  -YOU ARE HERE
2- Margaret King - http://makingpapercrafts.blogspot.co.uk/
3 - Sarah Keerie - www.esellek.com
4 - Sanda Roberts - http://kraftybiker.blogspot.co.uk/
5 - Anne-Marie Smith - http://classycrafters.blogspot.co.uk/
6. Donna Keene - http://head-over-heels-by-dlm.blogspot.co.uk/
7. Carolyn Exwood - http://stampaholix.blogspot.co.uk/
8. Lynn Clifford - http://www.heavenlycrafts.com/heavenlystampin/
9. Tara Chaplin -  www.ihaventgotacleverblogname.blogspot.com

To view the New seasonal Catalogue and Sale-a-Bration promotion click on the Catalogue images on the right hand side of my blog – or for a copy in your hands email me on laura@mycreativeideas.co.uk and i will post you them out for free..

i hope you enjoy making the calendar as much as i did..  hope you come back soon to keep up to date with Stampin Up! offers and latest news sign up for my monthly Newsletter at the top left of my blog..

Thank you for coming by today,

 photo signature.png

 
© Design by Neat Design Corner