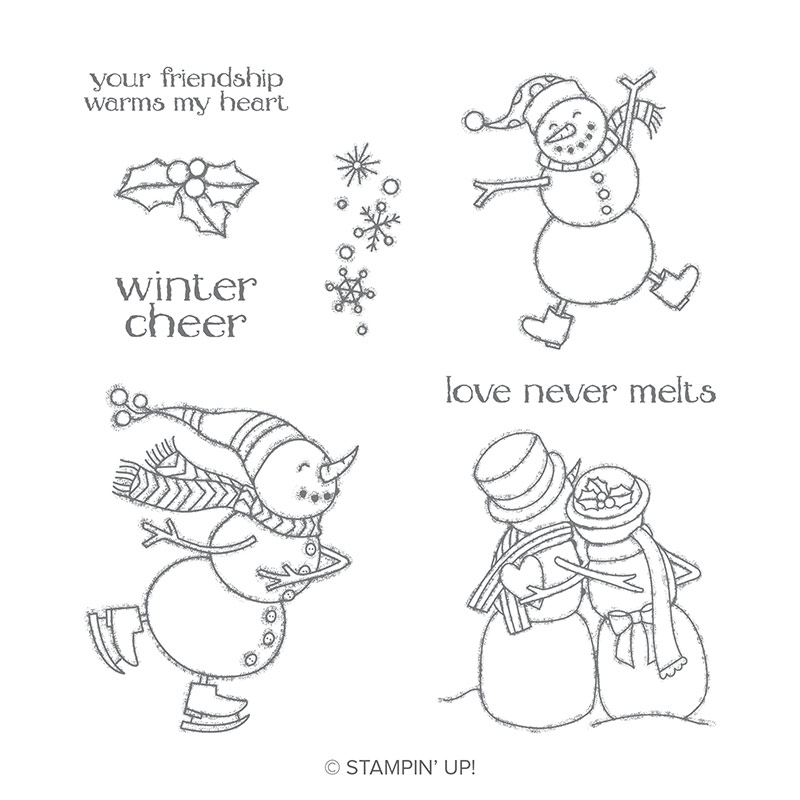
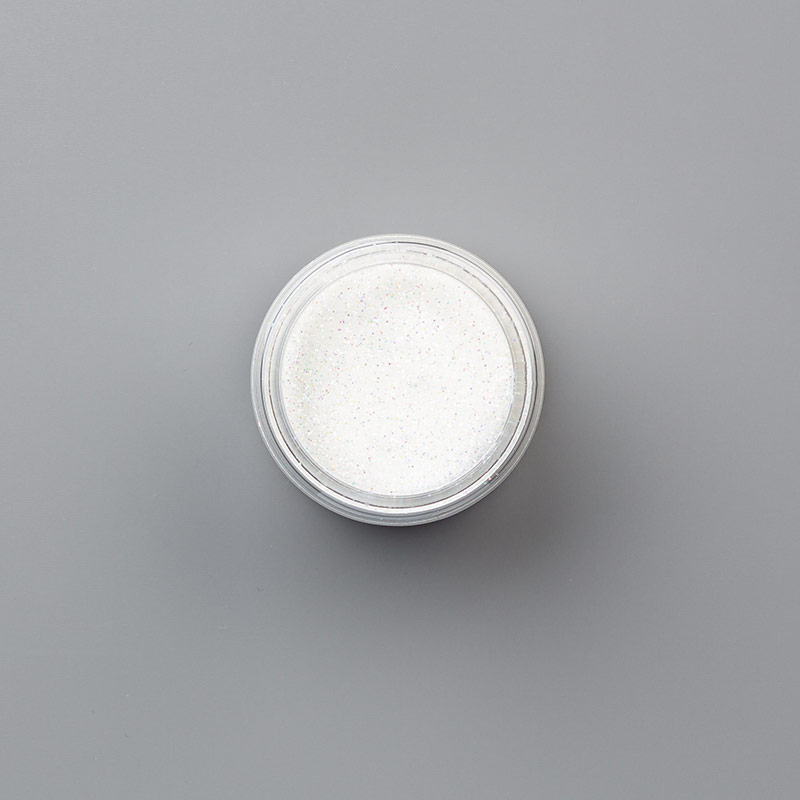
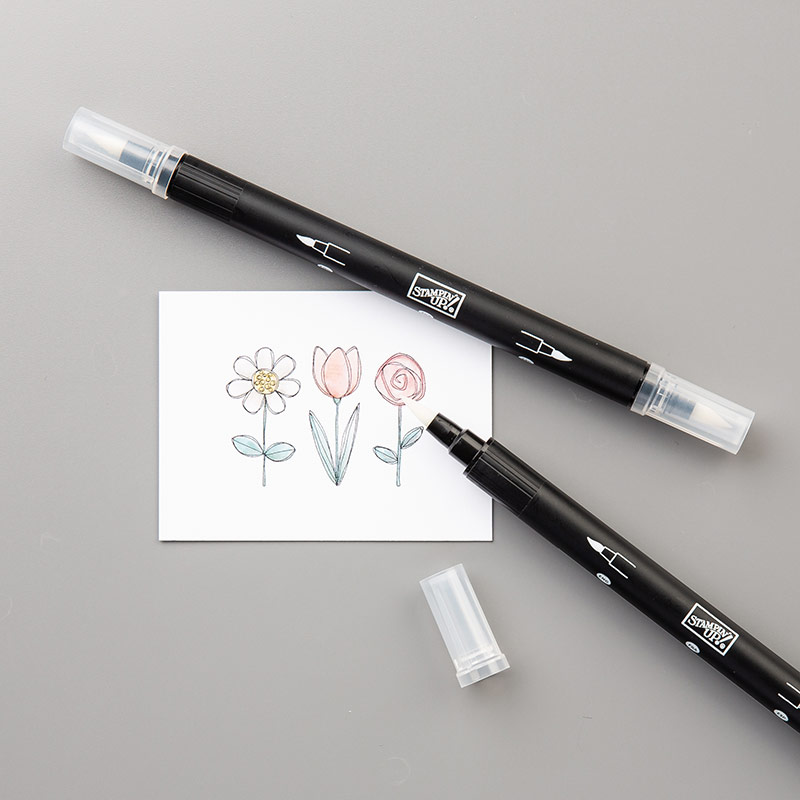
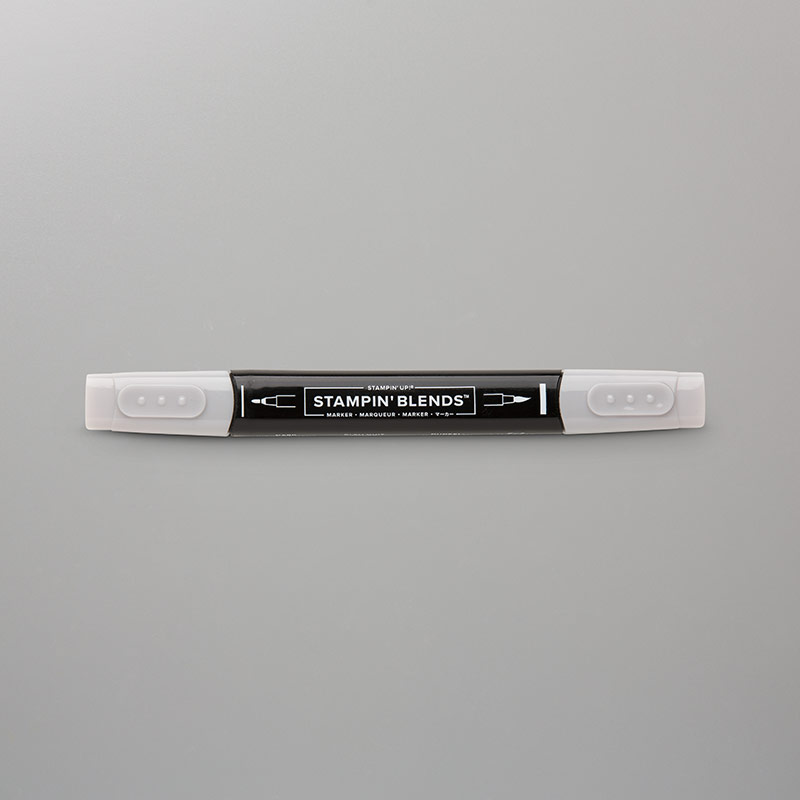
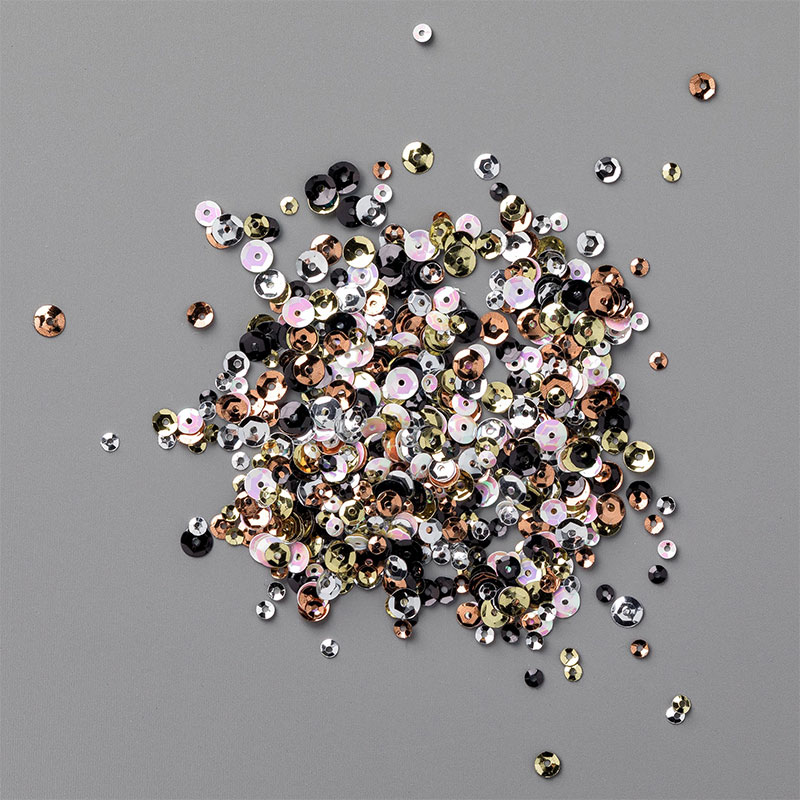
The card below also uses the Spirited Snowman stamp set, this time this snowman was coloured with Stampin' Blends alcohol markers, dazzling diamonds glitter was used to create the snowy hill
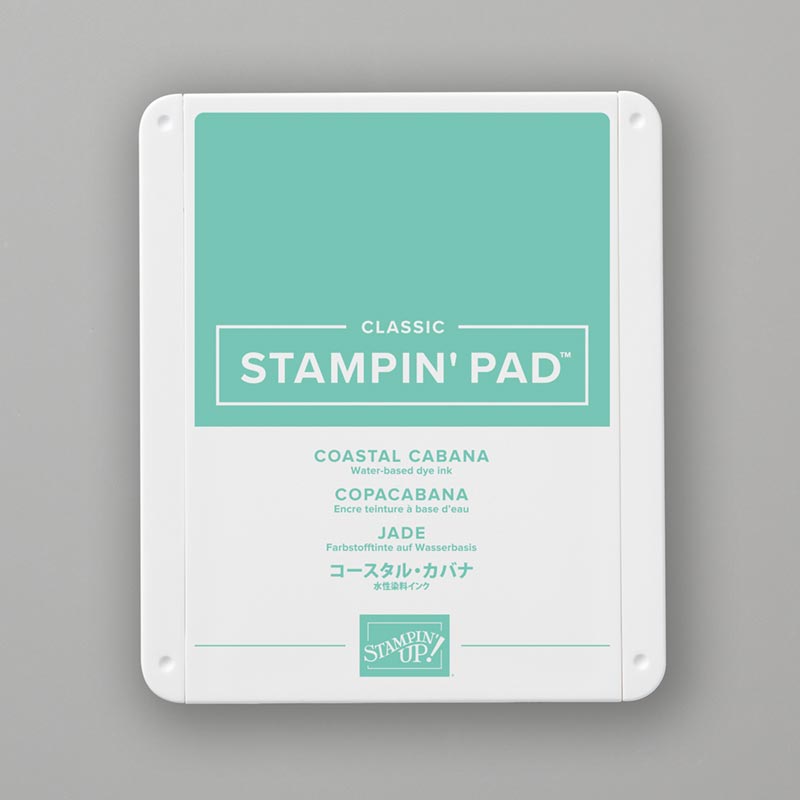
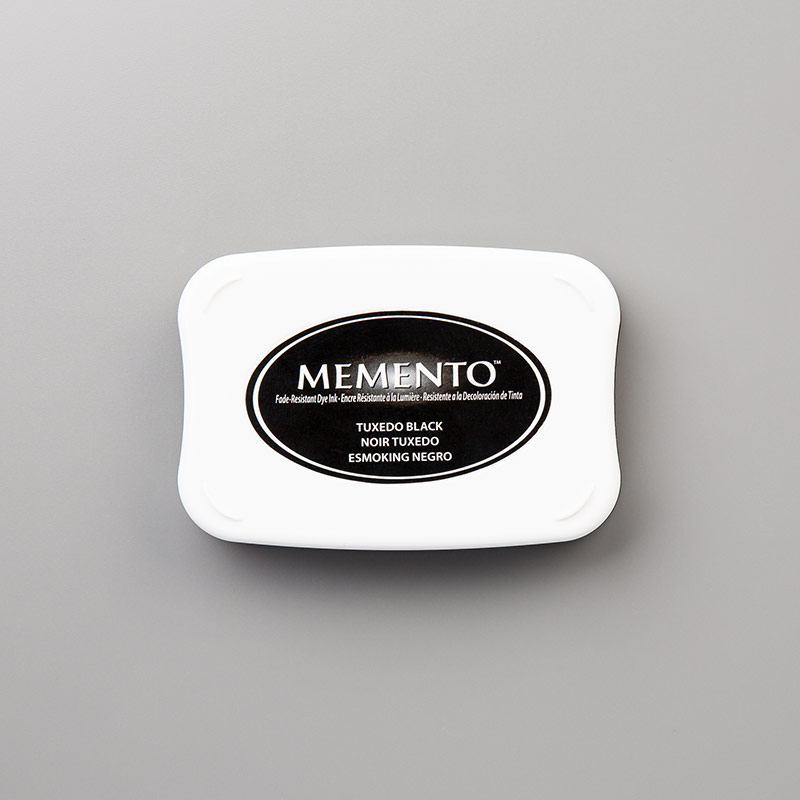
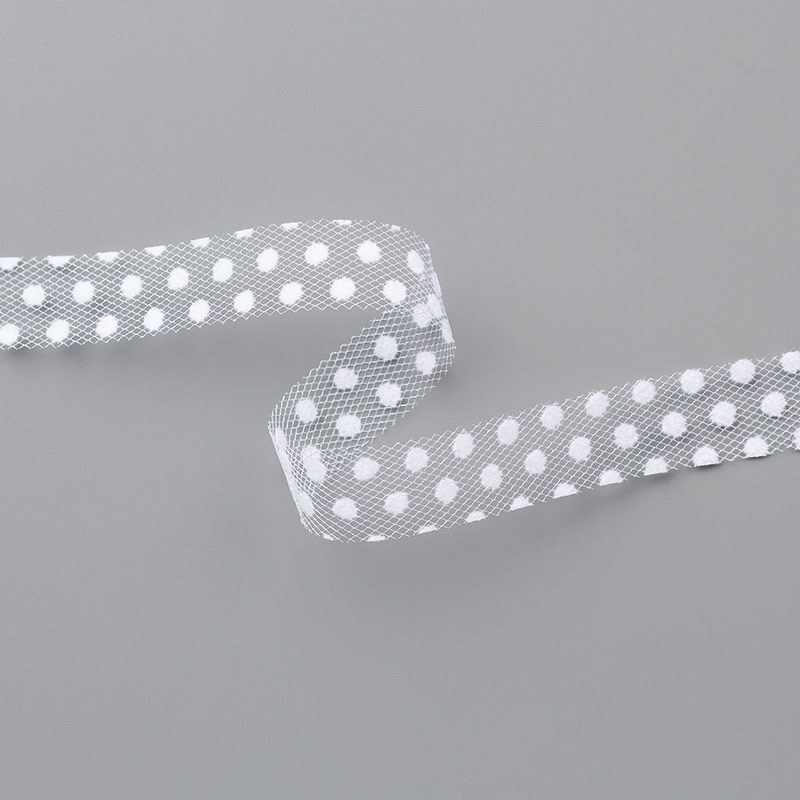
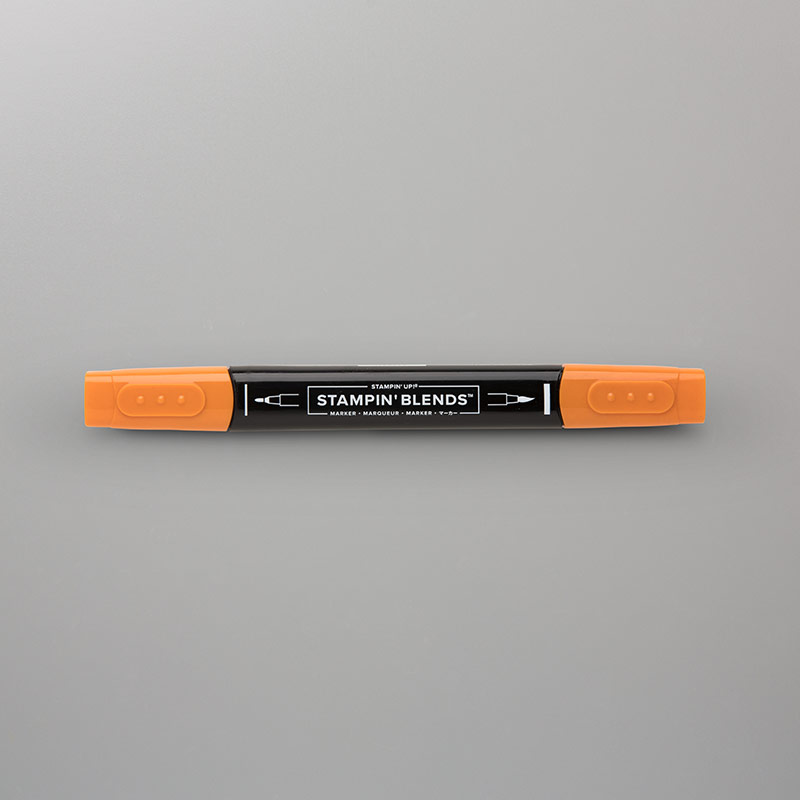
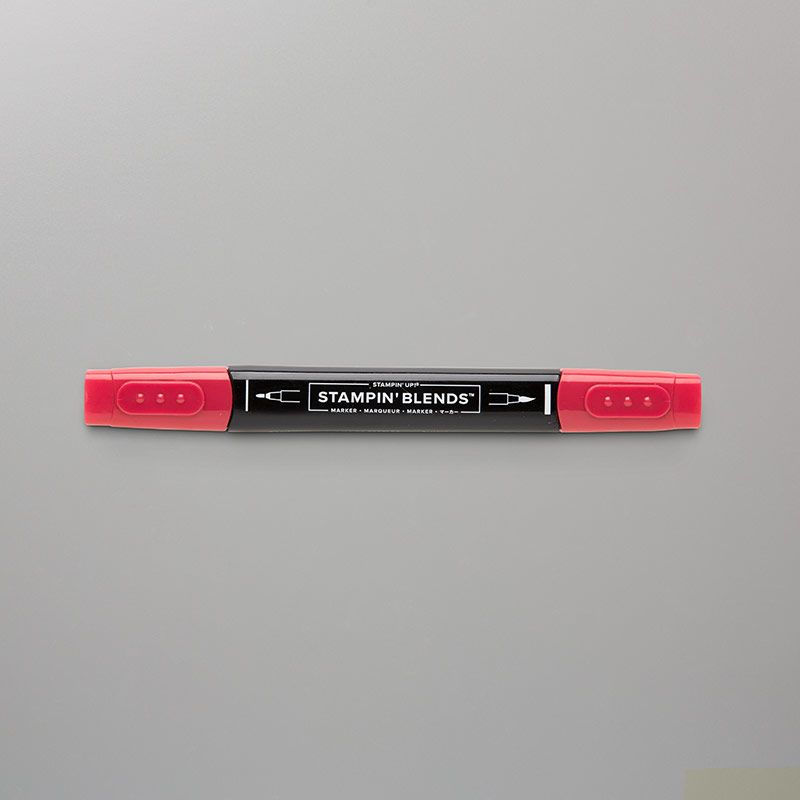
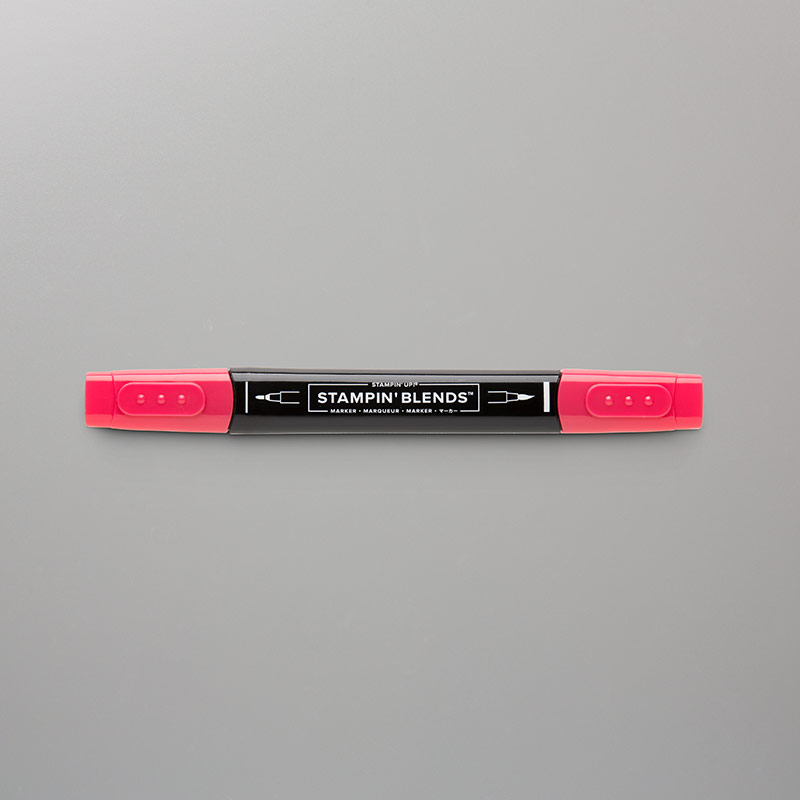
Heres everything I've used to create the above snowman card:
Have you started you Christmas cards yet?? if not I do hope I've inspired you to make a start Like anything you've seen today, If you don't already have a demonstrator or are looking for a demonstrator I would love to help you. You can have your order shipped to your chosen address either here in the UK or Germany, The Netherlands, France or Austria
Don't forget when you shop online to use my Monthly Hostess code, for a FREE extra goodie from me, this will arrive after your order and come direct from me with a hand made card...
This month hostess code is R4EHS3N9 (for orders under £150) Thank you so much for coming by today, til next time
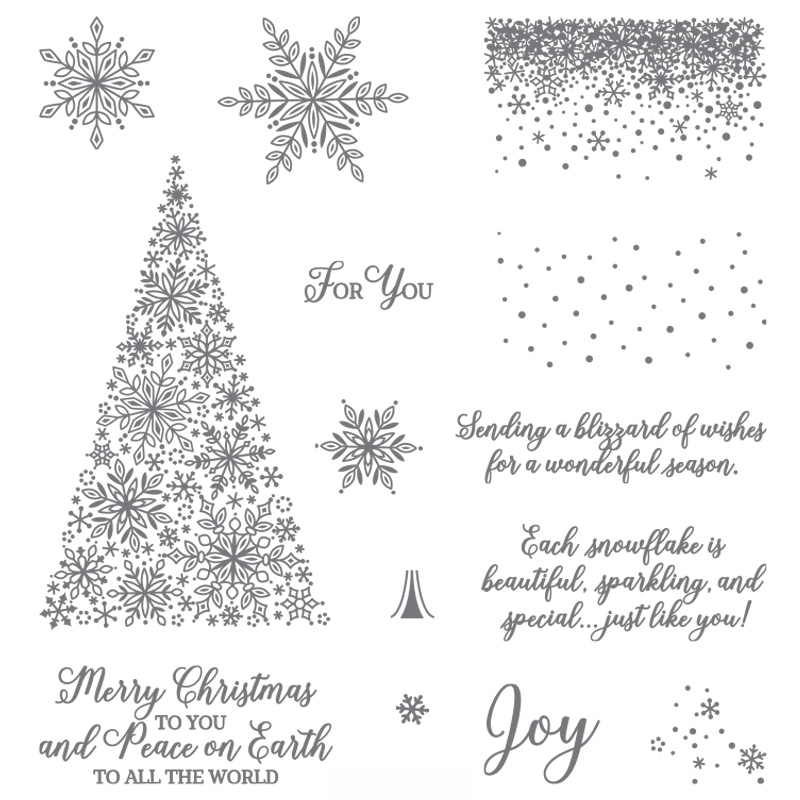
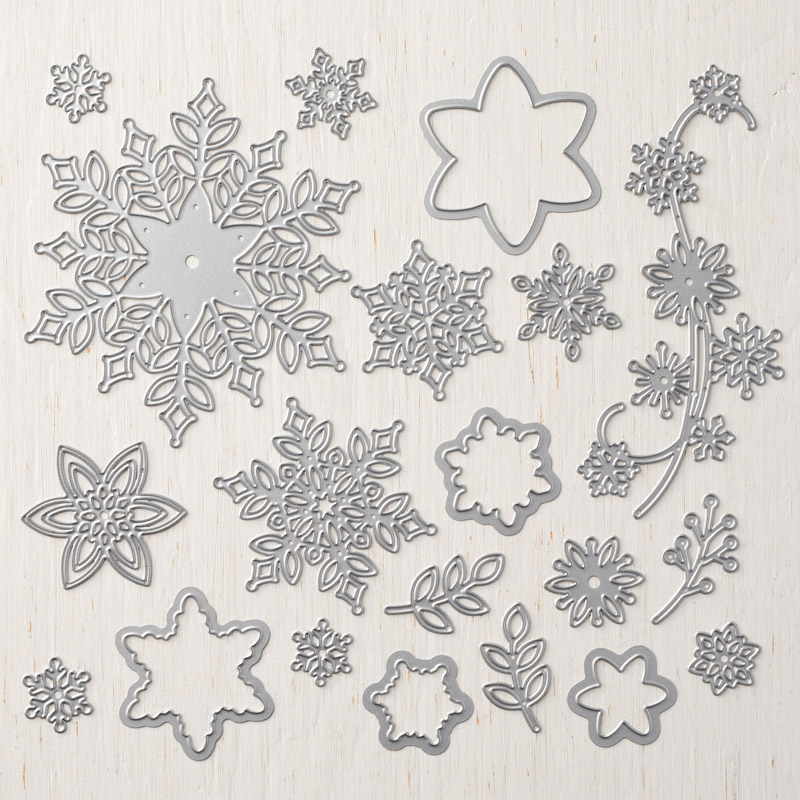
Today I'm sharing a card we made at my recent monthly card class, it uses the exclusive November Stamp set Snow is Glistening and Snowfall Framelits,
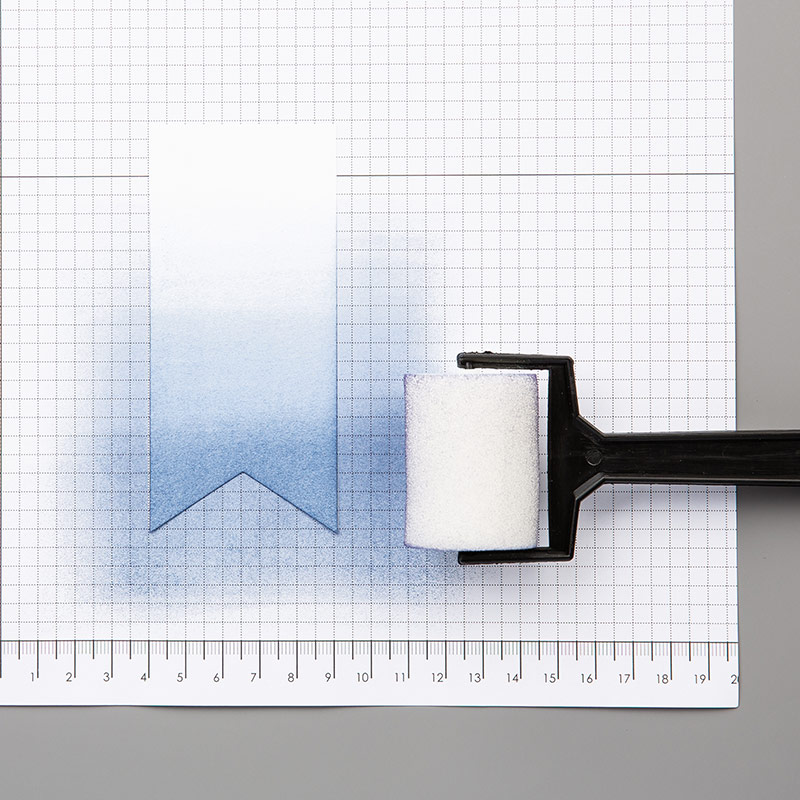
I've created an ombre Christmas tree stamping the tree in Black ink, then using 3 inks plus a sponge brayer to colour my tree
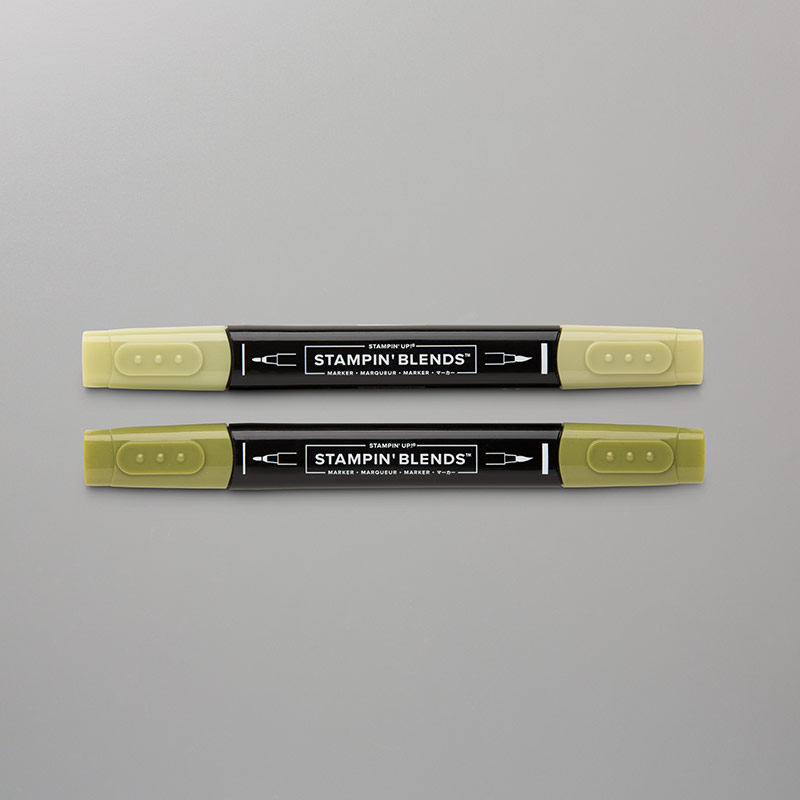
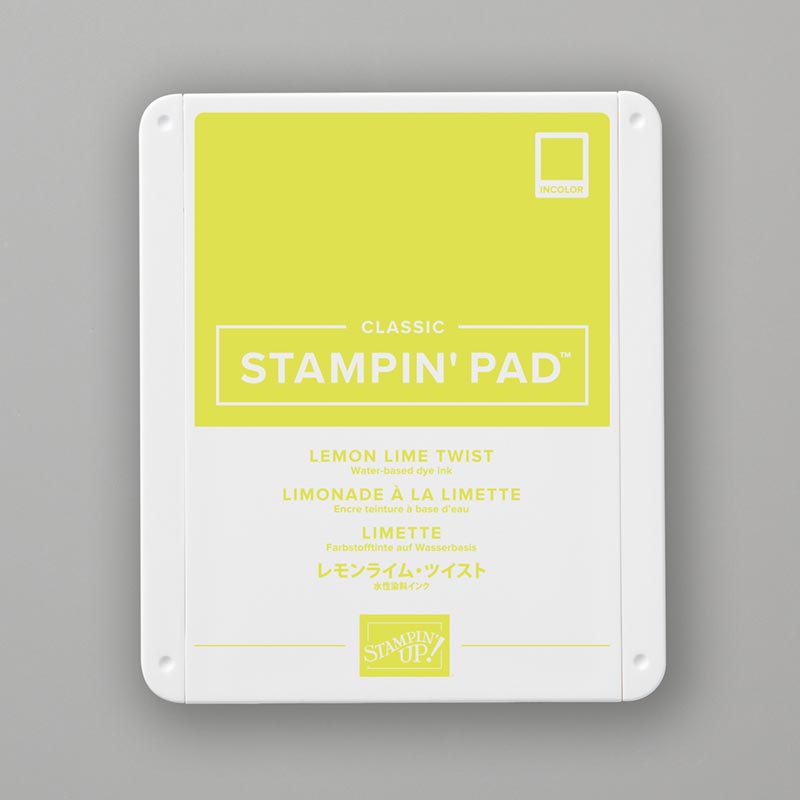
The 3 inks I used from the bottom to the top of my tree are
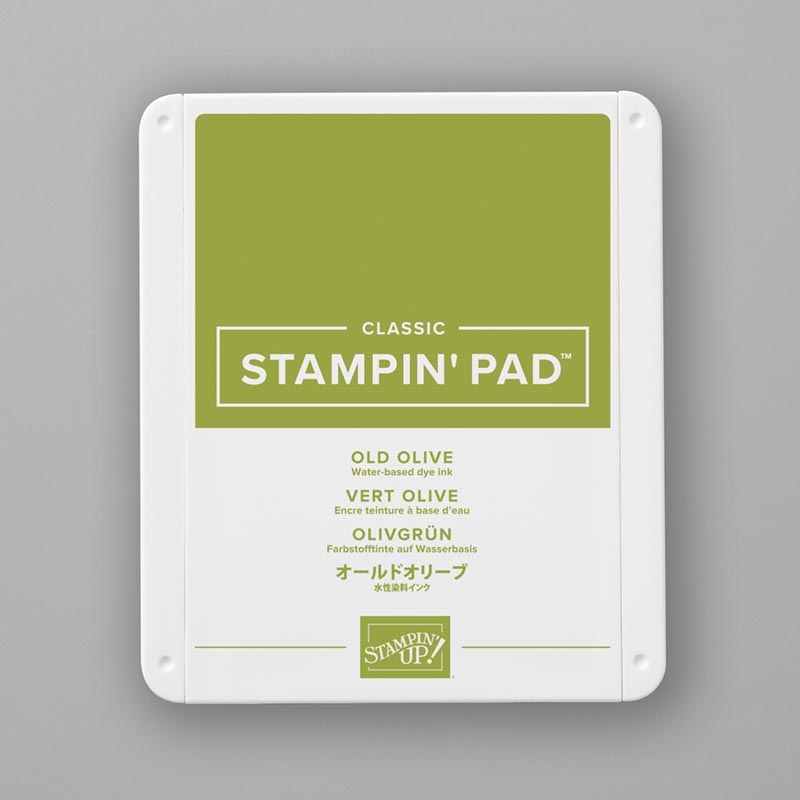
Old Olive
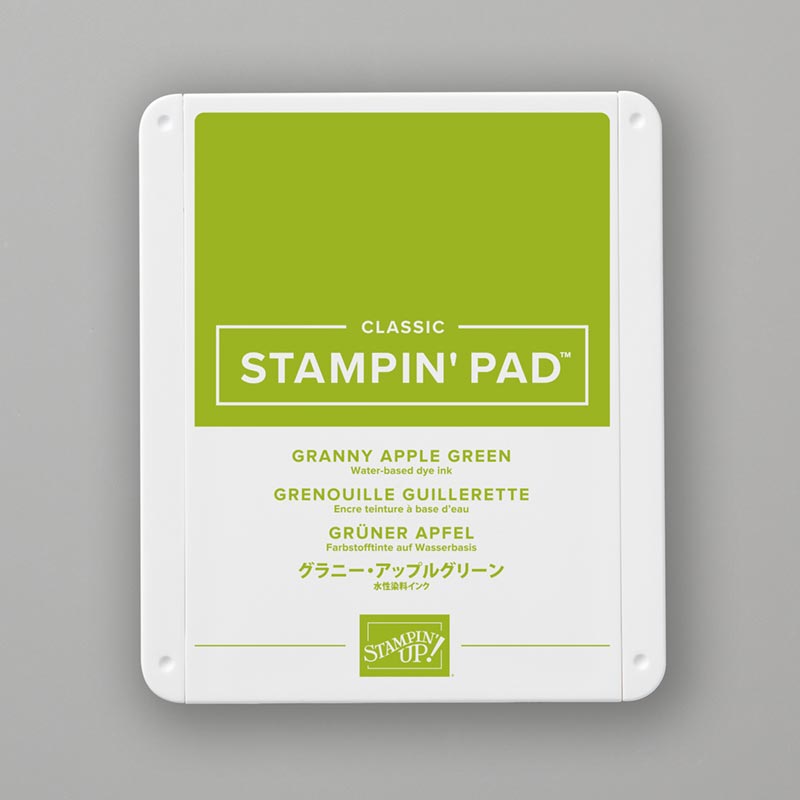
Granny Apple Green
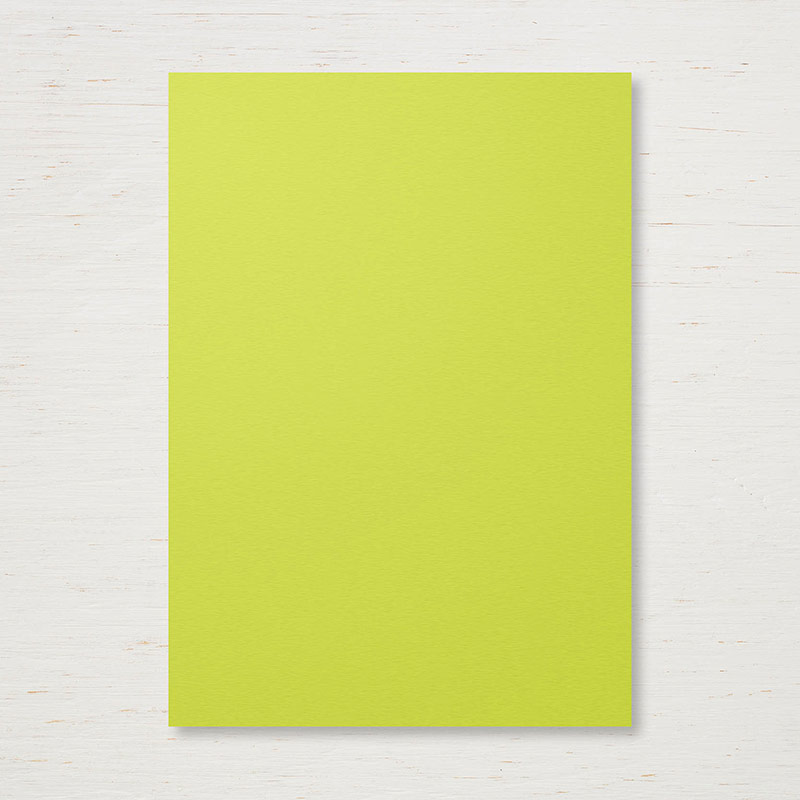
and Lemon Lime Twist
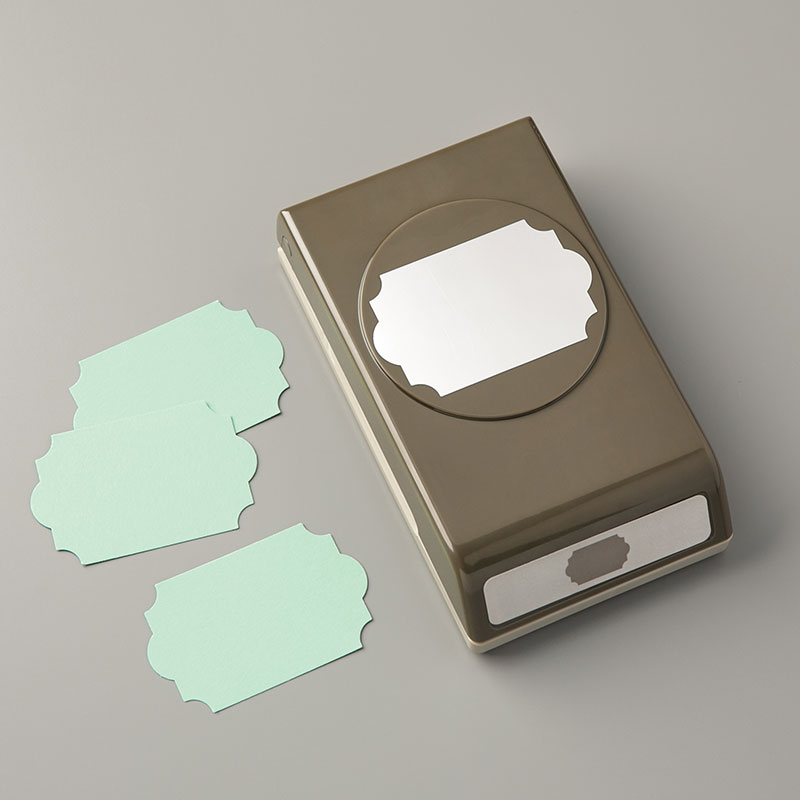
The greeting is also included in the Snow is Glistening stamp set, punched
out using the Everyday label Punch.
Now even though the Stamps and Framelits are exclusive for November only it is while stocks last so be quick and add it to your stash,
Like anything you've seen today, If you don't already have a demonstrator or are looking for a demonstrator I would love to help you. You can have your order shipped to your chosen address either here in the UK or Germany, The Netherlands, France or Austria
Heres what I've used today and all available to order right now:
Don't forget when you shop online to use my Monthly Hostess code, for a FREE extra goodie from me, this will arrive after your order and come direct from me with a hand made card...
This month hostess code is R4EHS3N9 (for orders under £150)
Thank you so much for coming by today, til next time happy craftin'
Welcome and thank you for joining us for this months Ink. Stamp. Share Blog hop, this month our theme is a Tic, Tac Toe Challenge,
so to play along its like playing noughts and crosses! pic a line in any direction and use those 3 on your card so you could have
Christmas - embossing - circle
or
Embellishment - Ribbon - Circle
does that make sense??? I choose Christmas - Ribbon - Banner
Here is my card and matching gift box too!
I went totally non traditional in my colour choice!! I find myself being very traditional when it comes to Christmas cards! does this happen to you too?? so today I decided to go with my favourite colour Pink!
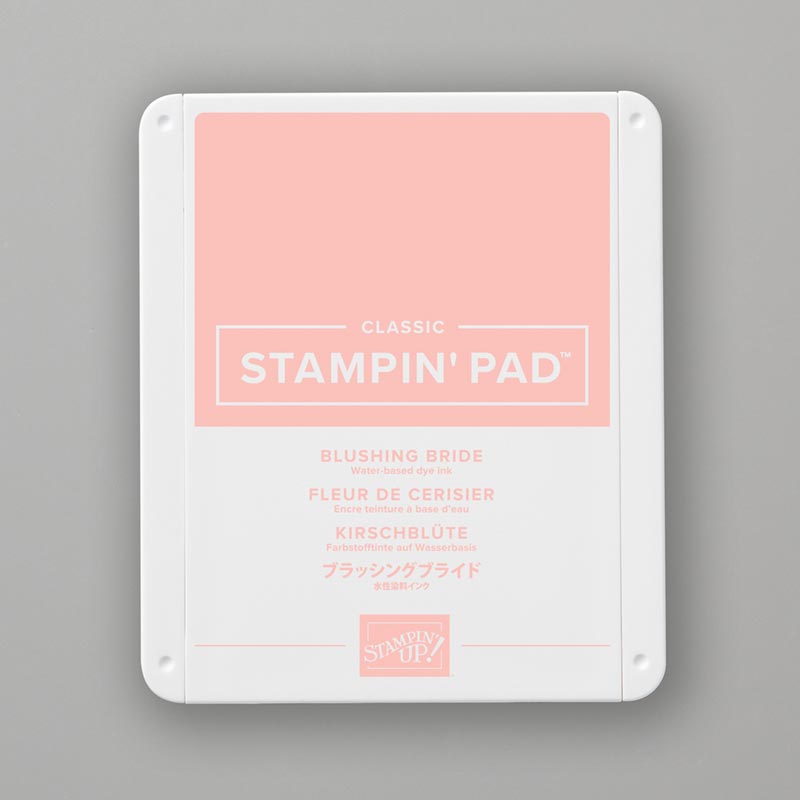
can you see those subtle stamped snowflakes? I've stamped them using second generation Blushing Bride Ink onto Blushing Bride cardstock, for a subtle soft background!
those snowflakes are beautiful..
My sentiment I have die cut twice using the largest square stitched framelit to create a more rectangle shape and in keeping with the size / shape of my sentiment!
being a sewer at heart I love the stitched detailing
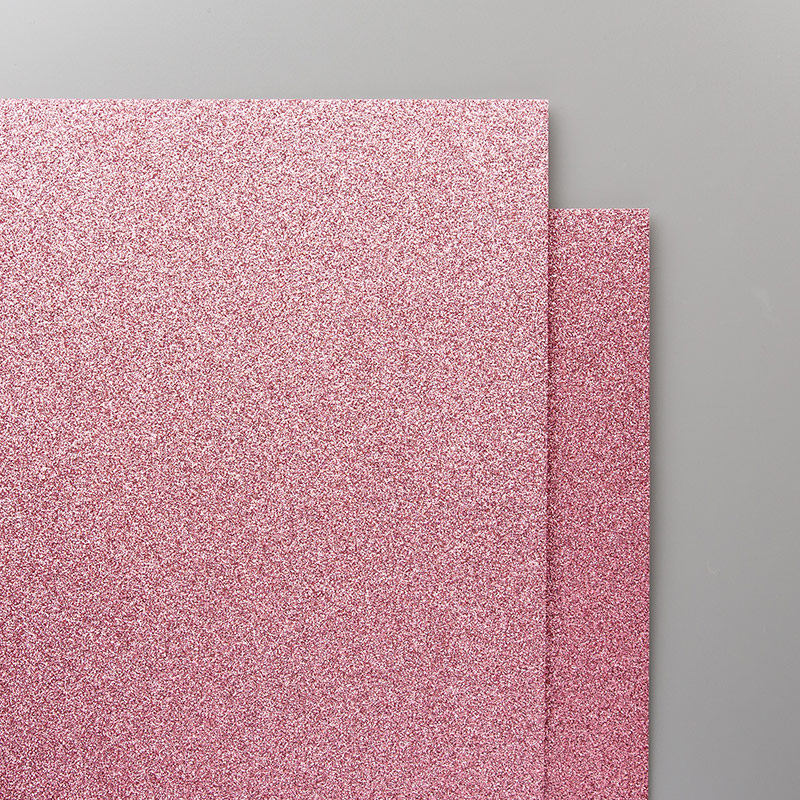
My snowflake is die cut using the Stampin' Up! Rose glimmer paper, I really love how my card turned out.. a simple card too which is great to mass produce!!
not seen these stamps or thinlits before??? that's because its a new exclusive Stamp set called Snow is Glistening this exclusive stamp set and Thinlits are only available through
November or while stocks last!
Check out the exclusive stamps and thinlits here in this video:
(Both available to order from 1st November 2018)
Photopolymer Stamps @ £20 (above)
Thinlits (below) @ £36
Heres the matching box I made
I stamped lots of snowflakes onto whisper white cardstock using Blushing Bride ink to create my own 'paper' I stamped very random stamping some off the edge of the cardstock, this would make great wrapping paper and gift bags too!
To make my box:
Lid: whisper white cardstock 18.3cm x 19.3cm
once stamped score on all 4 sides at 2cm and 4cm, trim away corners and adhere flaps to inside of box, turn 2cm scored edge in you will cover the flaps and adhere down inside box sides so no raw edge on lid of box - I forgot to take the picture! I got carried away!!
Base of box, Blushing Bride Cardstock 20cm x 21cm
score on all 4 sides at 5cm, trim away corners as below and adhere flaps to inside of box,
see pic below
I do hope you enjoy our hop and pop along to everyone who has taken part today, your next hop is over to Cindy to visit her blog click HERE or click on the Next button below
Like anything you've seen today, make a note of it and then contact you demonstrator to order, If you don't already have a demonstrator or are looking
Don't forget when you shop online to use my Monthly Hostess code, for a FREE extra goodie from me, this will arrive after your order and come direct from me with a hand made card...
This month hostess code is B7K6CURJ(for orders under £150)
Thank you so much for coming by today, til next time happy craftin'